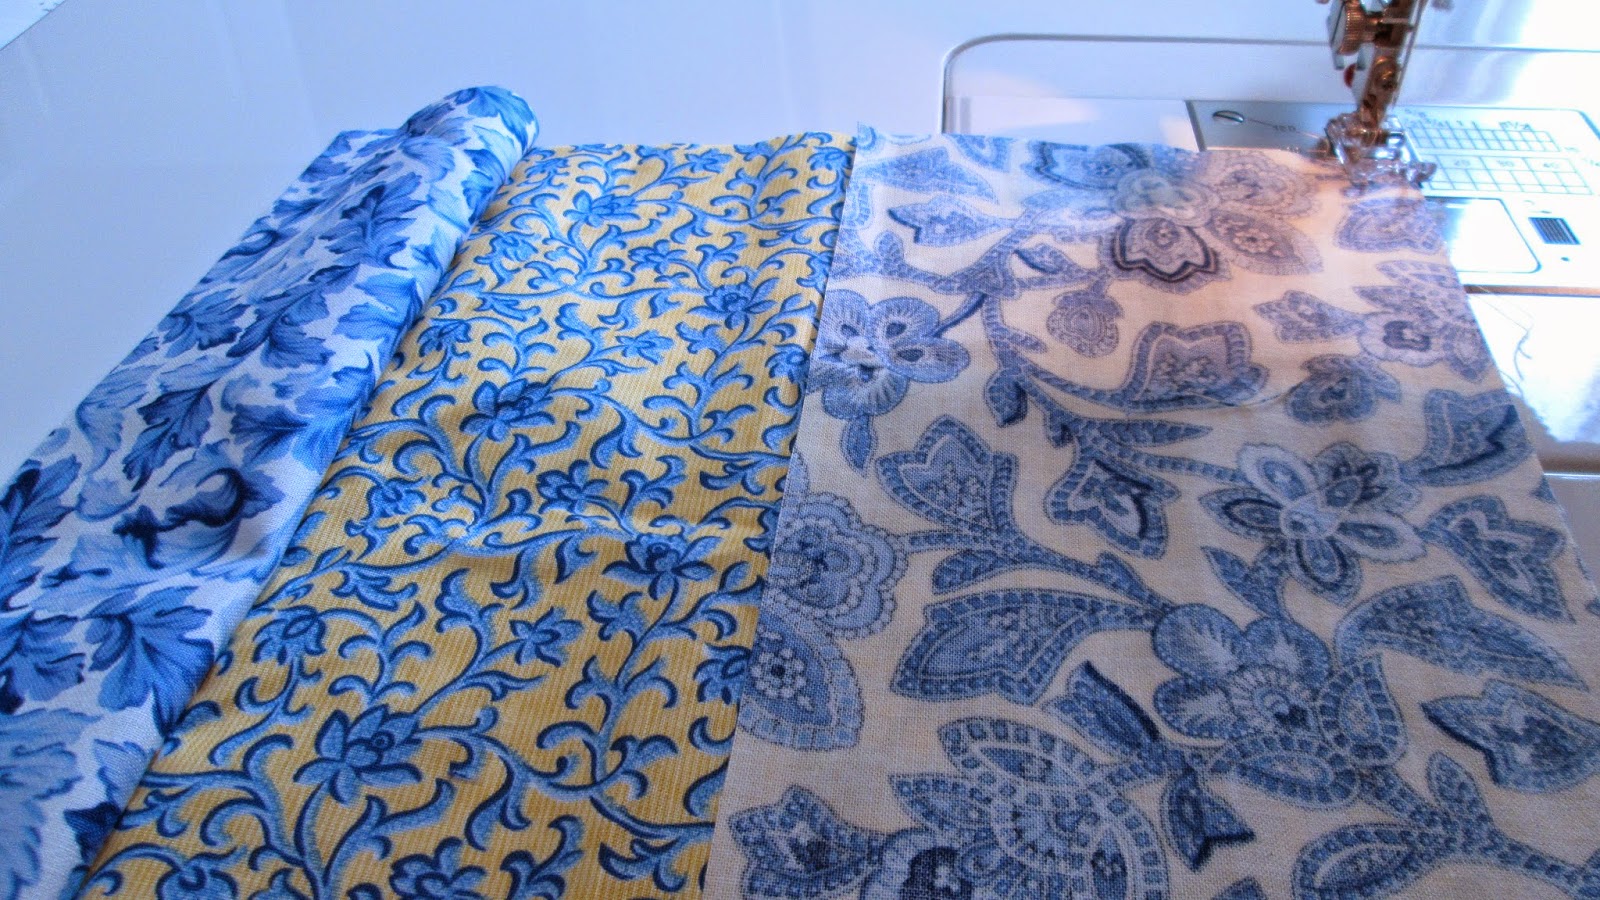
Last week I took my new purse to NFQ, and one of the gals commissioned me to make one for her! Her request was varying colors of gray from light to dark, and that it look just like mine. Here is what I heard her saying...
I went to JoAnn and purchased 3 different colors of gray, gray zippers, gray belting and antique silver 'D' rings. I came home and dug out my original purse pattern. She requested that it be exactly like this pattern.
I got all the pieces cut, labeled, and the first layer of interfacing ironed on. I always use feather weight Pelon for the first layer. On the body of the purse I also use a layer of batting and some ultra heavy stabilizer. That is what gives my bags such great body!
This is the outside pieces. You can see how I quilted it and the pockets. One on front and back.
Here is the lining. A zip pocket and a slit pocket.
Here I am boxing the corners.
And here is the end result! I am please with how it came out. I used a webbing handle with a fabric overlay. The handle is one yard of webbing.
Here you can see both inside pockets!
It measures 9" high x 12" wide x 5" deep. A great size for around town. Now let's hope that she likes it!!
Linking to: Anything Goes Monday! at Stitch By Stitch.
Sunday, May 18, 2014
Tuesday, May 13, 2014
A bright and happy "Sew Together" bag, for me!
I made a "Sew Together" bag for myself...finally! I love these little bags, they are quick and easy. You can buy the pattern at your LQS. These fabrics were among the scraps I won from Christa at Christa Quilts! Thank you soooo much Christa.
Quilting with a simple elongated triple stitch zig-zag.
Everything is cut out and ready to be sewn together.
Inserting the three inside pocket zippers.
And there you have them!
Getting ready to sew the outside to the inside.
And here you have it.
So fun to use a lot of different fabrics.
Fun to make and fun to give....or keep! Pattern by Sew Demented at
http://www.sewdemented.com/#!store/c768.
Well, I ended up selling this little beauty, so I STILL don't have one of these great bags for myself!
Linking to: Let's Bee Social at Sew Fresh Quilts!! WIP Wednesday at Freshly Pieced Modern Quilting!
Quilting with a simple elongated triple stitch zig-zag.
Everything is cut out and ready to be sewn together.
Inserting the three inside pocket zippers.
And there you have them!
Getting ready to sew the outside to the inside.
And here you have it.
So fun to use a lot of different fabrics.
Fun to make and fun to give....or keep! Pattern by Sew Demented at
http://www.sewdemented.com/#!store/c768.
Well, I ended up selling this little beauty, so I STILL don't have one of these great bags for myself!
Linking to: Let's Bee Social at Sew Fresh Quilts!! WIP Wednesday at Freshly Pieced Modern Quilting!
Sunday, May 11, 2014
A kitty UFO wallhanging!
We received these kitties as a whole cloth with all 4 squares still together and embroidery around all 4 kitties. I brought them home and....
Cut them apart...
Added some sashing...
Added a wider outside border, and started quilting. They already had batting behind each kitty, so by adding a second layer of batting, it made them really puffy!
A simple all over meander in the squares and a spirals in the borders.
I attached the binding by machine and added the hanging loops.
It is 21 x 21. Small, but cute!!
Linking to: Anything Goes Monday! at Stitch by Stitch.
Cut them apart...
Added some sashing...
Added a wider outside border, and started quilting. They already had batting behind each kitty, so by adding a second layer of batting, it made them really puffy!
A simple all over meander in the squares and a spirals in the borders.
I attached the binding by machine and added the hanging loops.
It is 21 x 21. Small, but cute!!
Linking to: Anything Goes Monday! at Stitch by Stitch.
Thursday, May 8, 2014
2 fun flimsies!
I received a really cute UFO bundle not long ago. I had to decide what to do with all 6 of the preprinted panels that were included. I decided that a quilt was not really appropriate for these panels, so I set out to make a wall hanging/table topper and a table runner!
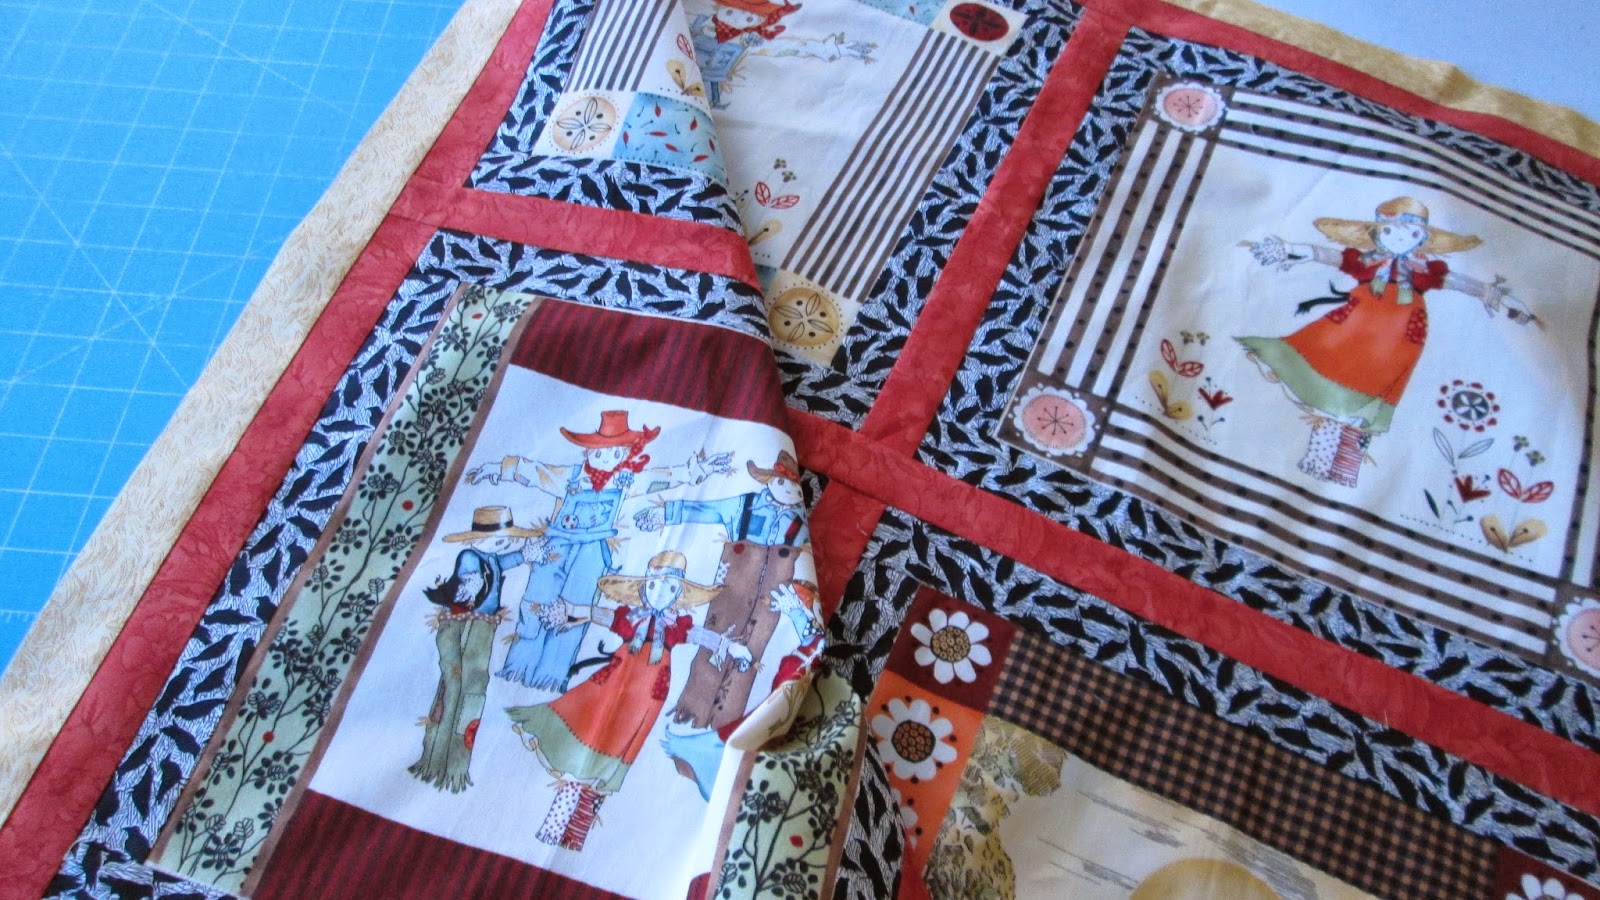
This is the pile of 4 blocks for the wall hanging/table topper. That first border is crows. I think they are soooo cute!
I decided to just keep adding 1 1/2 in borders.
Here it is all finished! 54 x 54. Great little wall hanging/topper for the fall!
These two cuties are for the table runner. I used all the same border fabrics, but configured it just a little differently.
Their little smiling faces are so cute. 15 x 45.
Linking to: Can I Get a Whoop? Whoop? with Confessions of a Fabric Addict! Finish it up Friday! with Crazy Mom Quilts.
This is the pile of 4 blocks for the wall hanging/table topper. That first border is crows. I think they are soooo cute!
I decided to just keep adding 1 1/2 in borders.
Here it is all finished! 54 x 54. Great little wall hanging/topper for the fall!
These two cuties are for the table runner. I used all the same border fabrics, but configured it just a little differently.
Their little smiling faces are so cute. 15 x 45.
Linking to: Can I Get a Whoop? Whoop? with Confessions of a Fabric Addict! Finish it up Friday! with Crazy Mom Quilts.
Tuesday, May 6, 2014
My new purse!
Have you ever gone shopping for a new purse? Have you ever found the perfect purse, only to look at the price tag in shock? I know you have all done both of these things. I have been looking for a new summer purse for a couple of months now, and I don't like what I am seeing in my price range.
SO.....I made my own!
I started off by drawing up a new pattern. I have never made a "Purse", so I had to scale it down from my usual tote size.
I got all of the interfacing ironed on and I was ready to quilt this puppy!
Then it was time for the two "blind pockets" on the outside of the purse. You can find my tutorial on installing them HERE!!
This is what a blind pocket looks like without a zipper! I top stitch close to the sewn edge for more stability.
Here are all the pieces, labeled and ready to sew together.
This is the outside shell of the purse. You can see the lining piece to the left.
Here is the finished bag! You can see the zippered pocket and the slit pocket on the inside. I like lots of pockets in my purses. I also like a single handle.
This handle was installed with 'D' rings.
SO.....I made my own!
I started off by drawing up a new pattern. I have never made a "Purse", so I had to scale it down from my usual tote size.
I got all of the interfacing ironed on and I was ready to quilt this puppy!
Then it was time for the two "blind pockets" on the outside of the purse. You can find my tutorial on installing them HERE!!
This is what a blind pocket looks like without a zipper! I top stitch close to the sewn edge for more stability.
Here are all the pieces, labeled and ready to sew together.
This is the outside shell of the purse. You can see the lining piece to the left.
Here is the finished bag! You can see the zippered pocket and the slit pocket on the inside. I like lots of pockets in my purses. I also like a single handle.
This handle was installed with 'D' rings.

Perfect size. 8h x 12w x 4d. Two outside slit pockets, 2 inside pockets....1 patch slit and 1 zipper blind. Handle drop is 14". I think I will like this purse. I used leftover bits from other projects. I used 3 different interfacings on the outside shell. Featherweight iron on fusible, iron on fusible batting and ultra firm stabilizer. These are all Pelon brand.
Linking to: Let's Bee Social! with Lorna as our hostess with the mostess!!
Sunday, May 4, 2014
A gift for my favorite SIL!! (son-in-law)
OK, don't panic....I only have one SIL! He is a wonderful guy, and loves my sewing. He had only one thing on his birthday wish list, a chef's apron. So I set out to make the best ones I could. I googled "chef's aprons" to get an idea of what a real chef's apron involves, and found some really good resources.
I had to first choose fabrics that were masculine and related to who he is. I found the perfect fabrics indeed!
Mike is the vice president of our local chapter of CMA (Christian Motorcycle Assoc.), so I felt that the motorcycle fabric was a perfect fit! I didn't have enough for the whole apron, so the middle band was a great accent. Did you notice the grey flame bands at the top and bottom?
He also had a special request for a place to hang a towel. I just made a loop of the twill tape, and hung a towel from it.
The ties go all the way around and tie in the front.
This give you a better idea of the shape of the apron.
I made the neck straps adjustable.
On the lobster apron, I added a pocket.
A quick peek from behind.
I sure hope that he likes these aprons. I had an absolute blast making them!! Happy birthday Mikee!!
Linking to: Anything Goes Monday! at Bobbins and Bullets with Heather.
I had to first choose fabrics that were masculine and related to who he is. I found the perfect fabrics indeed!
Mike is the vice president of our local chapter of CMA (Christian Motorcycle Assoc.), so I felt that the motorcycle fabric was a perfect fit! I didn't have enough for the whole apron, so the middle band was a great accent. Did you notice the grey flame bands at the top and bottom?
He also had a special request for a place to hang a towel. I just made a loop of the twill tape, and hung a towel from it.
The ties go all the way around and tie in the front.
This give you a better idea of the shape of the apron.
I made the neck straps adjustable.
On the lobster apron, I added a pocket.
A quick peek from behind.
I sure hope that he likes these aprons. I had an absolute blast making them!! Happy birthday Mikee!!
Linking to: Anything Goes Monday! at Bobbins and Bullets with Heather.
Friday, May 2, 2014
I tested the pattern for the "Girlfriend's Wallet"!
I felt so privileged to be asked to test sew the new "Girlfriend's Wallet" for Amira @ Little Mushroom Cap. This is such a fun pattern, and is easy to sew.
I think the hardest part for me was choosing fabrics. I found these great coordinating pieces and went for it!
The zipper pocket...done! Easy to follow zipper installation.
Then came the snap tab. I couldn't figure out how to install the snap after the tab was made, so I did install it before I sewed the two pieces together. It worked out great!
6 credit card slots, two back pockets and one zipper pocket! Your smart phone could easily fit in one of the back pockets. I did quilt mine, so it has a nice soft, yet sturdy feel.
There are 2 back pockets, so there is plenty of room for folding money and your phone!
Again, thank you Amira for letting me test drive this pattern for you!
Linking to: Can I Get a WHOOP? Whoop? over at Confessions of a Fabric Addict! TGIFF! over at Quokka Quilts!
I think the hardest part for me was choosing fabrics. I found these great coordinating pieces and went for it!
The zipper pocket...done! Easy to follow zipper installation.
Then came the snap tab. I couldn't figure out how to install the snap after the tab was made, so I did install it before I sewed the two pieces together. It worked out great!
6 credit card slots, two back pockets and one zipper pocket! Your smart phone could easily fit in one of the back pockets. I did quilt mine, so it has a nice soft, yet sturdy feel.
There are 2 back pockets, so there is plenty of room for folding money and your phone!
Again, thank you Amira for letting me test drive this pattern for you!
Linking to: Can I Get a WHOOP? Whoop? over at Confessions of a Fabric Addict! TGIFF! over at Quokka Quilts!
Subscribe to:
Posts (Atom)