Tuesday, April 29, 2014

Love this little beauty!!

I have been working on a first!  Yes, my first commission quilt....ever!  It has been so much fun.  Sewing a quilt, and knowing who will be using it on the other end. 


This was a kit she had purchased several years ago, and realized that it was a bit over her head.  I had it all cut out in no time.


I got right to piecing it. 


This is such a cool border.  I will probably use it again!


I pin the intersections to make sure that they match up, and stay matched!


Love my 'Kwik Klip'.  Did you know that they are made right here in California?  If you don't have one, go out and get one today!


Here she is....laying across my new couch!  She is the first one to sit on it.


Measurements after washing are 53 x 65.


I used a simple FMQ meander.  Aurifil #50 off white.


I machine bound this one.  I am really loving machine binding!


 I decided to make a pillow cover with the leftovers!  It has a hidden zipper and will fit a pillow form 12x15.


I sure hope that Jane likes my little surprise!

Linking to: Let's Bee Social! over at Sew Fresh Quilts! WIP - Work In Progress Wednesday at Freshly Pieced!

Wednesday, April 23, 2014

A Janome home!

My daughter's birthday is coming up, and I knew what I wanted to make for her!  Last year I got her a Janome for her birthday, but it did not come with a case.  Well, what is that all about?  Every Janome (or any other machine) deserves a pretty home!  So....here is a little insight into the making of a new sewing machine tote!!


I dug out my pattern to refresh my memory on how to cut this project out.


Everything is cut and labeled.  Time to get all of the interfacing ironed on!  I used 3 layers on the tote body.  Featherweight fusible, fusible batting and a heavy duty stabilizer.  It must be sturdy enough for the weight of a sewing machine.


I decided on a simple straight line quilting on the body of the tote.


Handles are attached.


Time to make the zipper flange.  I used a separating zipper for this tote.
 

One thing I did different with this tote is, I bound the top instead of turning the tote through an opening.  I just top stitched the flange into place using my zipper foot.


I used a blind zipper pocket for the inside.  You can go HERE for a tutorial on blind zipper pockets.


I also added a scissor pocket to the inside.


This tote will be carrying around a sewing machine, so there needs to be some rigidity to it.  I had Mr. H cut a piece of melamine the size of the bottom of the tote.  I made an envelope for it and placed it in the bottom.  It fits nice and snug, and can be removed when needed.


I also added 6 small purse feet to the bottom.  With the weight of a sewing machine, and the scooting that takes place, it would have worn out to fast without them!


The pouch on the right is for the foot peddle and cord.  The one on the left is for sewing notions and the small one is for bobbins and needles!


A peek at the inside!  A happy family indeed.

 
I hope she likes it!  HAPPY BIRTHDAY little girl!!!!!!!!!!
 
 
linking to: Needle & Thread Thursday with Kelly as our host!  Anything Goes Monday over at Stitch by Stitch!  Anything Goes Tuesday! over at Blossom Heart Quilts!

Sunday, April 20, 2014

Installing a blind pocket!

How many times have you made a pouch or tote, and really didn't want the pocket to show?  You want the security of a zipper pocket, but not the look of a patch pocket.  Well, I have written this little tutorial for you.  This method is great for the inside or outside of your project.


The first thing you need to do is determine the width of the pocket you want.  (We will talk about the length down a little further!)  That will determine the length zipper you will need.  Cut your fabric so that it is 1 in. wider on each side of your zipper opening.  ** if your zipper is 7in., your pocket width would be 9in.**  Measure 1 1/2 in. down from the top of your pocket fabric and 1 in. in from each side of your pocket fabric.  Draw your sewing lines 1/4 in. apart.  **see above picture**  Sew around all 4 sides with right sides together.  On the tote itself, I measured down 3 in. from the top of the tote and centered the opening.


Use either your seam ripper or a sharp scissor to cut down the middle,  Making a Y at each end of the opening.  Make sure you don't clip any of the stitches!


Turn right sides out and press.


This is the inside of the pocket showing here.  I interface both the body of the project and the back side of the pocket.  I like the stability that interfacing gives.


At this point, you have a choice, put in the zipper, OR, just leave a slit opening!


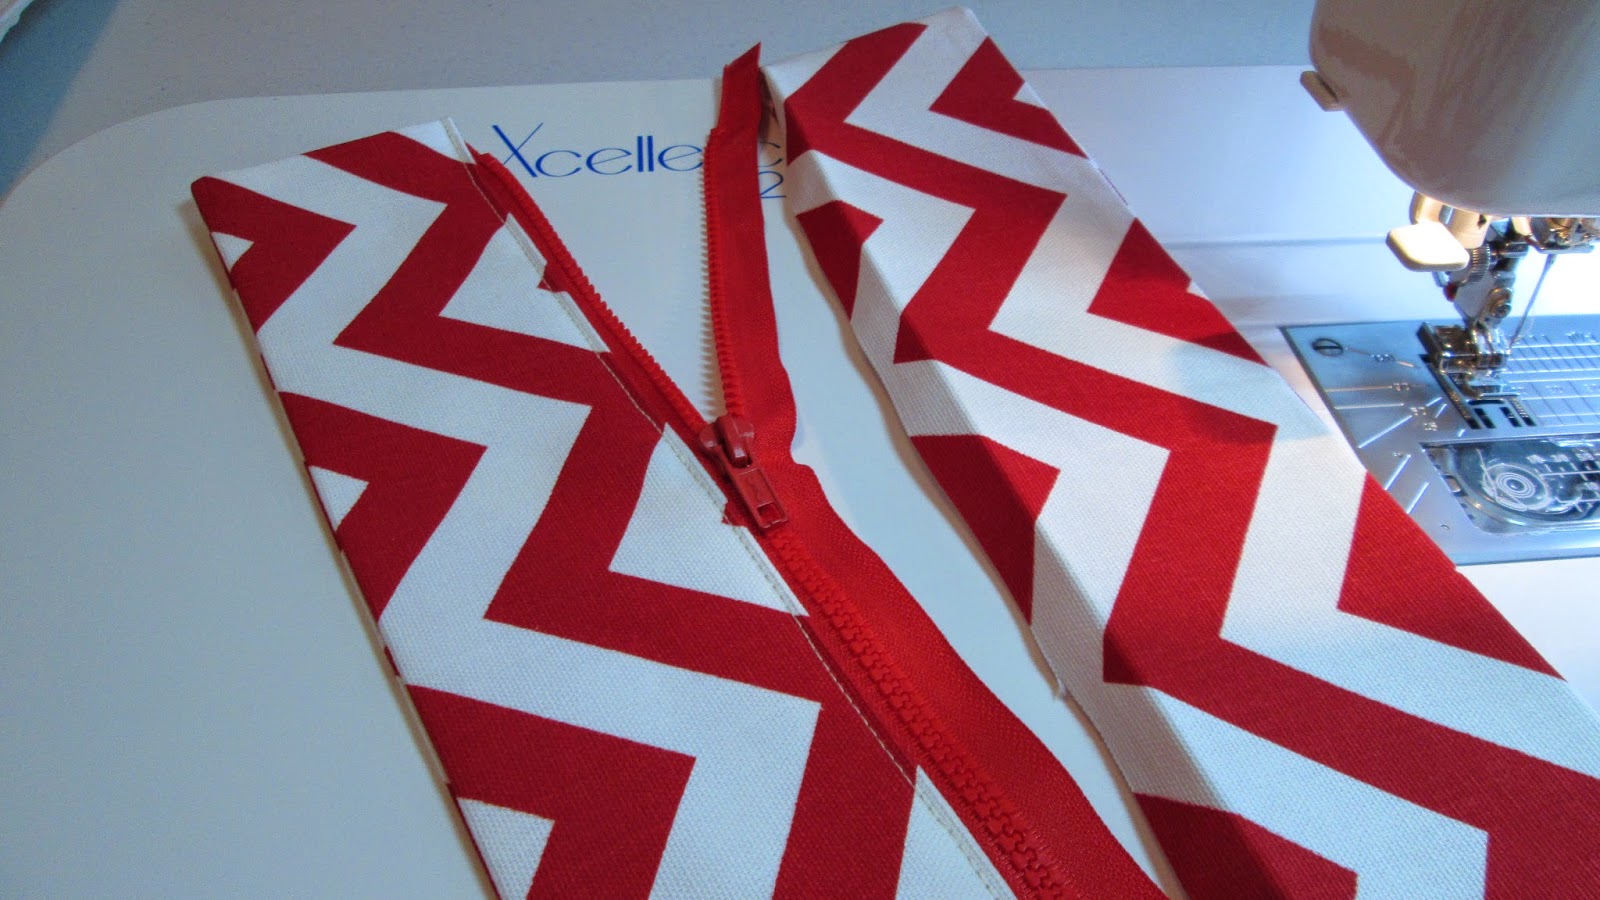
I tried something new, fabric glue ... I didn't care for it.  Now, position the zipper in the center of the opening.  Either baste it, glue it, or pin it.  Oh the choices!  You will use your zipper foot to get nice and close to the plastic zipper teeth.


And just like that, your zipper is in!


Turn your project over.  My zipper was longer then my opening, so I needed to trim it.


I left a tail of about 1/4 in at the end.


For the pocket itself, I cut my fabric 15 in. long which will give me a pocket depth of 6 in.  Figure out how deep you want your finished pocket to be, and add 3 in..  You will take up these extra 3 in. at the top of the pocket.  Remember, your zipper is down from the top by 1 1/2 in..  Pin, and sew up all 3 sides.


Make sure to move the body of your project out of the way.  Press well.
 
 
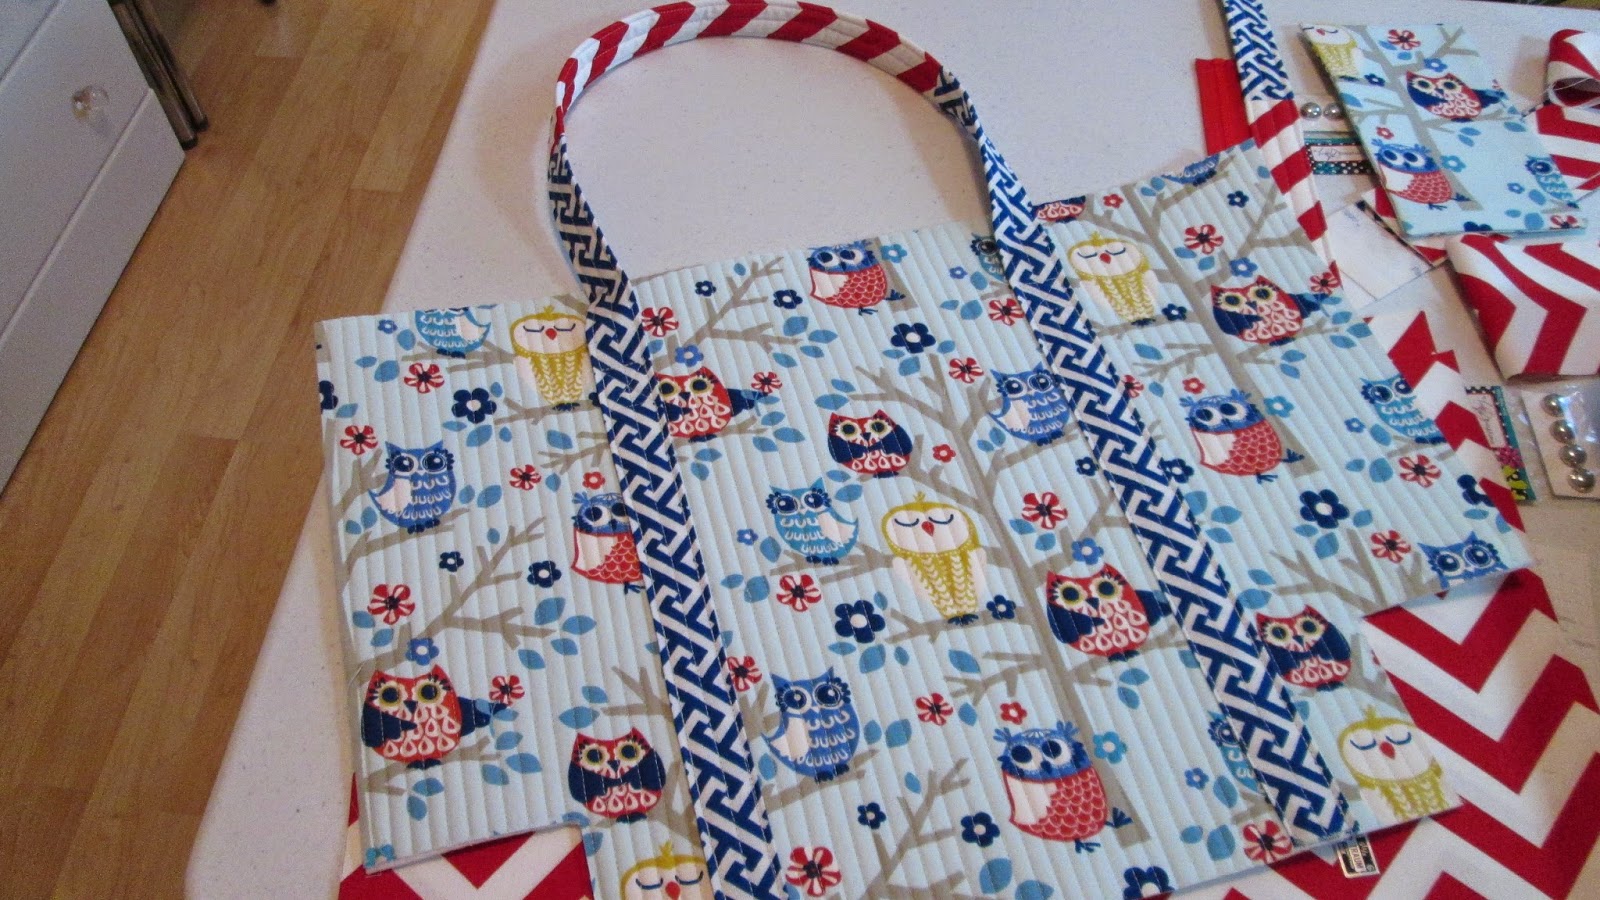
 And there you have it!  A nice pocket, without it being in your face!
 
If you want to see a different example, click HERE! Blind pockets with and without zippers!

HE is risen...

He is risen indeed!!


Blessed be the name of the Lord!!

Have a blessed Easter Sunday!!!

Thursday, April 17, 2014

Totes magotes!

I have been working on some fun surprise stuff for a wonderful friend!  Lorna, over at Sew Fresh Quilts! I'm surprising her with this little care package.


She has a new sewing machine, "Aunt Elna", that is similar to mine...so I made s simple slip cover for her sewing machine.


Then I made her this tote.  It measures 14" high x 16" wide x 5" deep.  The front lemon square is a pocket!


This is the back.


There is a zipper pocket on one side...


...and a slash pocket, divided into 3 smaller pockets on the other!


She is my very 'tweet' friend, and I found this fun blue bird fabric at Walmart!


This little make-up brush pouch was a special request from my sister.  It was hard to give this one up.


It measures 4 x 9 x 1 1/2.

Linking up with Finish It Up Friday with Amanda Jean at Crazy Mom Quilts!
Related Posts Plugin for WordPress, Blogger...