Tuesday, January 28, 2014

Hope you don't mind...

...one more project with these scraps!  I just love the bright, happy feel of this combination.  Here we go.


This is the beginning of a pincushion/pocket/thread catcher thingy!


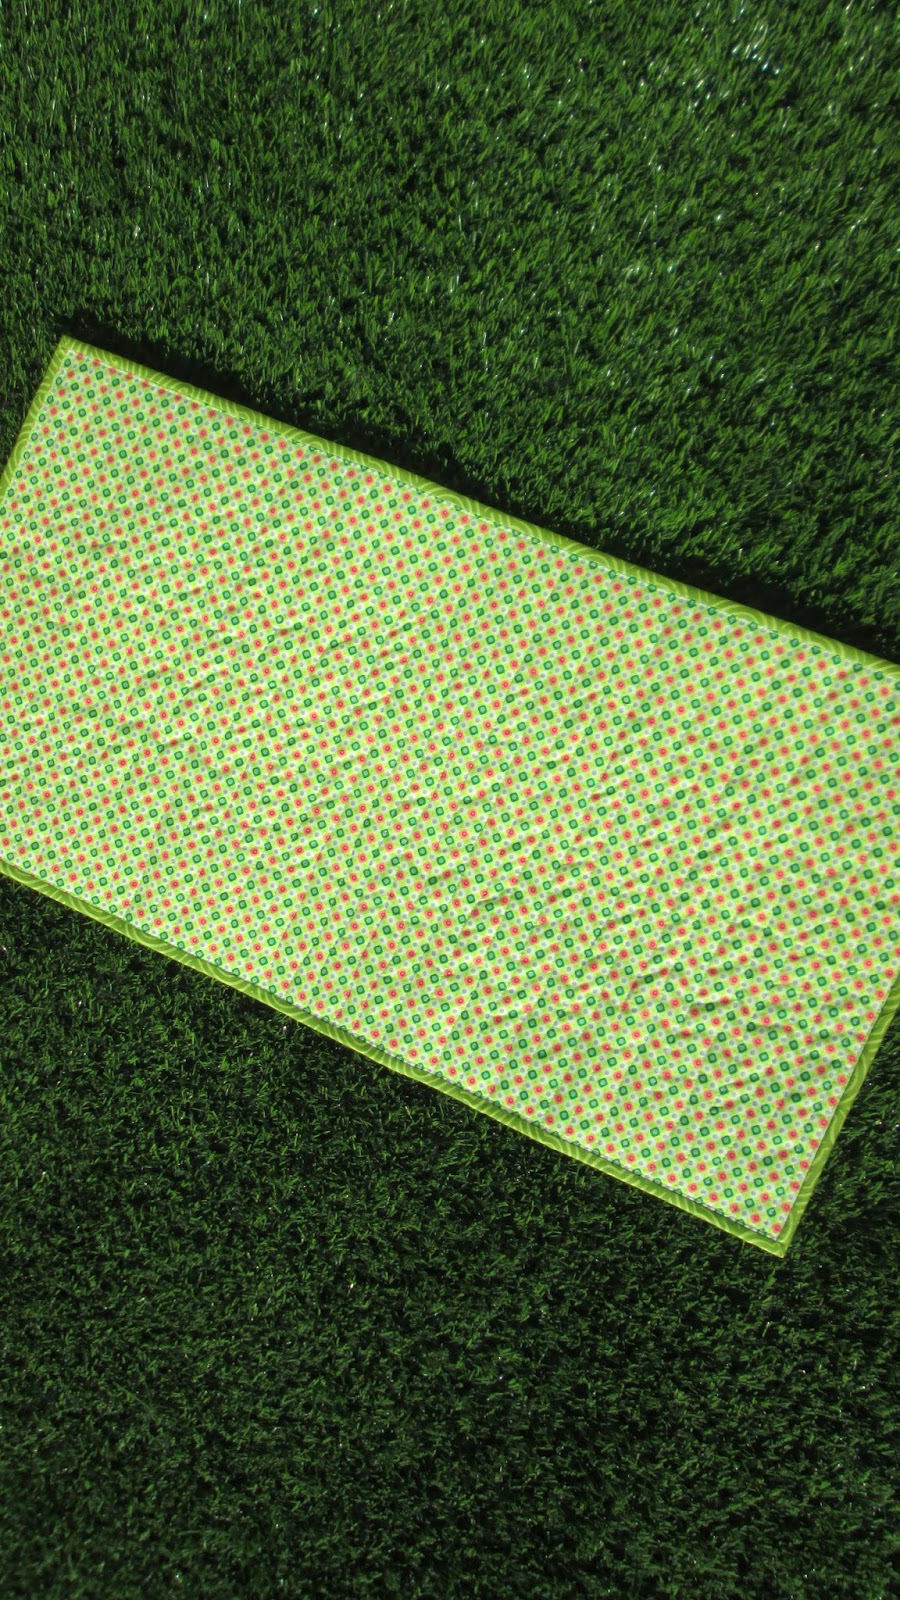
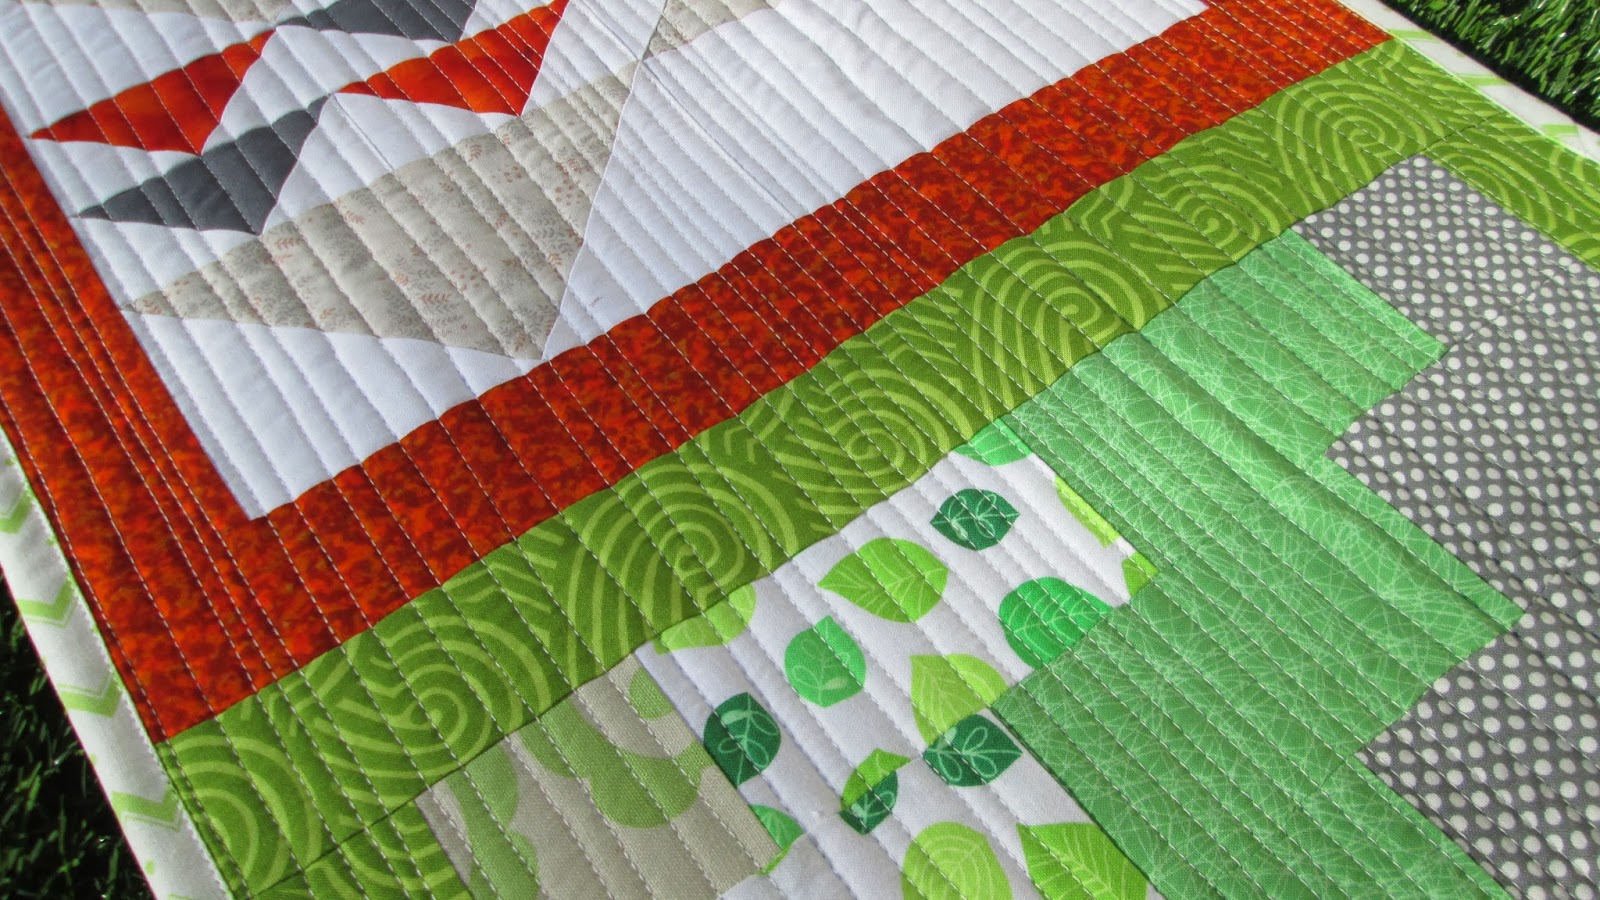
Unfortunately, I didn't take many progress photos.  Sorry!  The squares are 2 1/2x2 1/2.  The thread catcher takes 21 squares all together.  3 rows of 7.  Quilt as you'd like and sew side and bottom seam.
Trim off remaining batting from the sides.  Cut lining fabric the same size.  Sew side/bottom, leaving an opening for turning.


Here you see the two straps pined 3 in apart to the outside of the thread catcher.  If you are just wanting the tread catcher, you'd leave the straps out and just put right sides together and sew the top closed.  (The straps are 2 1/2 x 3 1/2 in.)


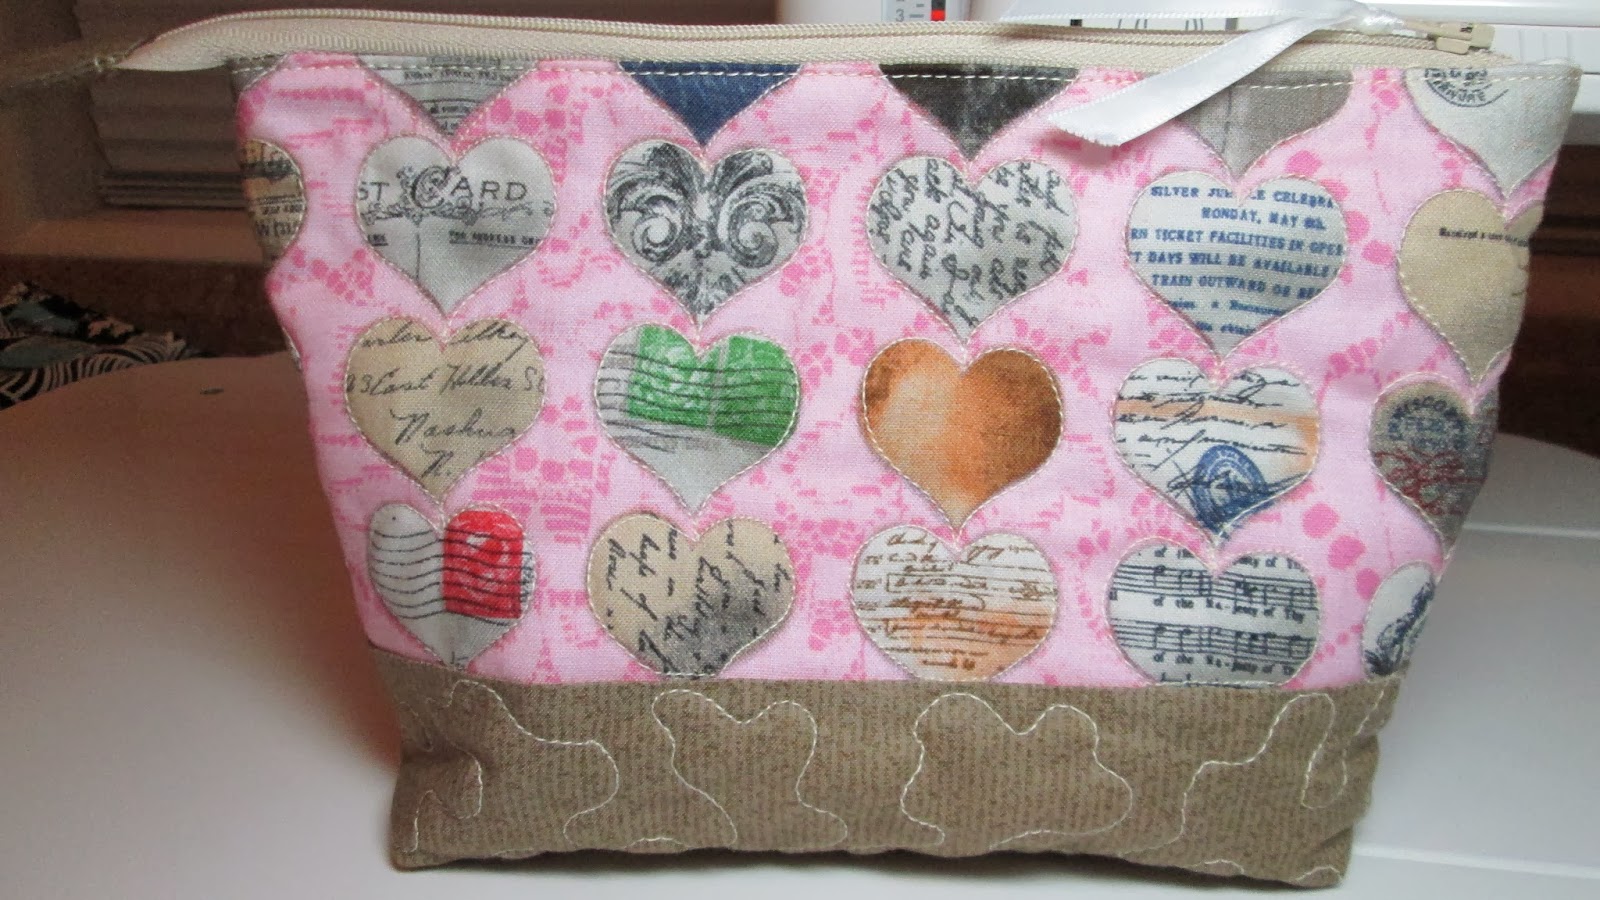
Turn them right sides out.  Sew turning opening closed.  I top stitched about a 1/4 in. down from the top seam.  Now, time to make the pin cushion.  I cut 2 pieces of fabric 4 1/2x6 1/2.  I used light weight fusible for the bottom, and just quilted the top with some batting.  Feed the straps (3 in apart)through and sew around the whole thing, leaving a turning hole 3 3/4 long. (make sure not to catch the straps in the seam!)  Trim your corners, then turn right sides out.  I then made the pocket.  This is a great time to use an orphan block, or make a new one to match!  My pocket front is 6x3 1/2 finished, and the back is 6x6 finished.  You can make your dimensions any size you'd like, your imagination is the only thing stopping you!  I had to close the openings left in the cushion and pocket by hand.  The cushion is filled with crushed walnut shells for weight.


So there you go!  I hope that you enjoyed this little tut.  Think of all of your friends that do handwork in front of the TV.  This makes a fast and easy gift!

Thank you Lorna at Sew Fresh Quilts for hosting the Let's BEE Social linky party!  Join us to meet new quilty friends!!

Linking to Needle & Thread Thursday at My Quilt Infatuation with Kelly as our host.

Friday, January 24, 2014

Grow Your Blog Party!!!.......and GIVEAWAY

I am so excited and thrilled to be part of the "Grow Your Blog" with Vicki from 2 Bags Full as our gracious host!

Here is a little introduction to my blog and to me....Vicki!

When did you start your blog?

 Back in February of 2013, I had never seen a blog, and really didn't understand what blogging was all about.  I was encouraged by my good friends Deborah - Simply Miss Luella , Cindy - Live A Colorful Life and a few others, to consider creating a blog of my own.  So, I set out on this adventure with a lot of trial and error, and here I am today!  My first post was on April 11, 2013.  My first few posts didn't even have photos - I didn't know how to download them from my camera.  I think I have done pretty well using the "point, click, and hope that the whole thing doesn't disappear" method!

What are you working on now?


Most all of my sewing is for charity and this is no exception!  It is a wall hanging for MDS.  You can read more about it in my tab at the top of my page.

Where do you get all the beautiful fabrics you use in your quilts?


Donations from wonderful people like you!  This is just a small sample of the fabrics we get in.

Who comes up with the patterns and pairings?

 I do!  Sometimes kits, UFO's or BOM's come in so they are already together, but the rest of the time, I sit and either design my own pattern or draw from my collection of patterns for ideas.  In the above picture, the bottom shelf is full of bundles that are ready to be cut and sewn into quilt tops.

What do you mean quilt tops?


This quilt was made with donated antique 'flower pot' squares.  I make the tops, and the gals at North Fresno Quilters do the small stitch quilting, tying, prairie stitching or they are sent out for long arm quilting.  This particular quilt was small stitch quilted!


This beauty went out to the long arm quilter.


This one is being tied.  When they are quilted in the manner selected, they come back to me for binding!

I thought that you quilted your own quilts?


It was just this last summer that I started doing machine quilting.  I am learning more and more all the time.  Having my new machine has made it a whole lot easier!

What kind of machine do you use for quilting?


It is an Elna eXcellence 720.  I just got this machine in September, and I couldn't be happier!  I feel so blessed.

I'm understanding a little more about what you do, but why "making lemonade out of lemons"?

Our fabrics come in bits and pieces.  Some of them are more like lemons....not really sweet. I take them, match them up and make something really pleasing and appealing out of them...lemonade!  When choosing my blog name, I had to include that fact somewhere in the header.  It is our motto at NFQ!

Thank you so very much for stopping by to see what A Quilter's Mission is all about!  I hope that you visit more of the blogs involved with this great party.  If you look over to the right, you will see the "Grow Your Blog" button,  Make sure to leave a comment or email me if you have any questions.
quiltersmission@gmail.com

There is also a GIVEAWAY with this great blog hop!


I think that if you have made it this far, you deserve a chance to win a pouch of your own.  Now, you must let me know what color you'd like your pouch to be somewhere in your comment!  This giveaway is open to everyone, and the winner will be announced on February 15, 9am (pacific time).  Good luck!

Linking to Anything Goes Monday with Marilez at Stitch by Stitch.

ENTRY HAS NOW CLOSED!! 


A wallhanging and a table runner...


Once again, I had some leftover blocks from a donated UFO.  What to do?  I decided that this block was perfect for a housewarming wall hanging!


I am donating this to the MDS "Housewarming" Sister-Link!  You can go to this link to see the other wall hanging that I made for MDS.  If you are interested in joining me in donated a wall hanging, click here for more information OR leave a comment and I can send you more information.


I used 'organic' lines to quilt this piece horizontally.


With these two donated blocks, I decided to make a table runner.  I like the modern feel they have.


With this runner, I quilted lines vertically, very close together.


Here you can see how close.  This table runner will be donated to the MCC Sale on April 4 & 5 of this year.

I am linking to Can I Get a Whoop! Whoop! and Finish it up Friday.

  Also, head on ever to Simply Miss Luella to wish her a happy 2 year blogaversary!!!  She is have a fun giveaway.

If you live where it is winter....you may want to check out the wonderful spring flowers down under in Oz!!!  Go on over to Sarah Lizzie's to see her phenomenal  garden!!  Thank you Kim, for the reminder that there is more to weather then just snow!


Tuesday, January 21, 2014

My tutorial for a pacifier minder!


Like most babies, Charlotte loves her pacifier!  My son showed me a pacifier minder he had gotten on line. I knew that I could duplicate it with no problems.  So here is my version.  First, I choose the pinkest pinks I could find in my stash. 


I purchased 1/2 yd of cord, also in the pinkest pink I could find. 


I already had these little suspender clips.


I cut a piece of heavy weight interfacing 8"x1" and a piece of fabric 9"x3" for each minder.


Next, press the fabric in 1/2 and slip the piece of interfacing in up to the fold.


Now press the edges in to cover the interfacing on each side.  Make sure to center the piece of interfacing in from each end about 1/2".


Top stitch right next to the edge, catching the interfacing in the seam.  I used matching thread, but you can make it a contrasting stitch if you'd like!


Press the raw edge of the strip down by the 1/2" you have at each end.  Slip the clip onto the end.  Make sure that it is facing the right way!


Stitch the end under.  I stitched across twice for security.


This is what it will look like when you have the clips on.


Now is the time to mark for the cord hole. I marked my dots 1" down from the raw edge.


I then took a block of wood, ice pick and a hammer to pierce the holes.  Just give it a couple of good whacks!!

 
taa-daa!  Holes for the cording.


The easiest way to thread the cording (7" long) is to tape the ends with clear tape.  Make sure that you are feeding it through to the back of your minder!


Take a few stitches towards the raw edge of your minder.  It is pulled through approximately 1/2".


Fold over your raw edge, and sew across twice.


That my friends, is how I made pacifier minders for Charlotte.  I don't have any pacifiers here, so I can't show you how they work.  But, you just take the loop, put it through the handle or hole of the pacifier, pull the strap back through the loop and it is secure.  Clip the suspender clip to their clothes and now she/he won't loose their pacifier when they spit it out!  I do hope that you will try this.  It is a fast and easy gift.

I am linking to "Let's Bee Social" at Sew Fresh Quilts with the lovely Lorna as our hostess!!  It is always a good thing to bee social!!

Monday, January 20, 2014

Folding...refolding...organizing my stash!

Having to reorganize is never fun, but it simply must be done!


So, I got out all the pieces big and small, and started folding.  Sorry, I failed to take a picture of the disaster before.  Here starts the work.  Take any large piece of fabric.  This piece of "Katie Jump Rope" happens to be 1 yard long.


Fold it from fold to selvage.  I use my 6x12 ruler.


Start at one end and just start winding.  Pull snug so that it will not get bunchy.


Just keep winding...


...until you get to the end.  The great thing about using your ruler is, it slides out easily!


Now, all of your larger pieces are the same size and can stack neatly on your shelf or in your bin.


My smaller pieces were folded and put into shallow bins.  I tried to organize them by color, but that was not easy.


Here is the top half of one of my large cupboards with my neatly folded fabrics.  I like these folds, because I can fit 2 deep on the shelves.  I also don't like this, because I have to take out the front stacks to see what I have in back!


All the small bins and bags represent projects just waiting for attention!  There are about 20 projects respresented in this closet alone.  I guess I have my work cut out for me.  Well, not cut out yet, but ready for me to do so!!  I just wonder how long this "organization" will last?

Sunday, January 19, 2014

A hostess gift for my niece!


I am in love with hand made gifts, and needed one in a hurry.  My niece and her wonderful husband invited my sisters and me to stay in their home while they were out of town!  I wanted to give her a little something, as she travels a lot and can always use pouches for this, that and whatever!


Squaring up the corners.


This pouch has two inside pockets.


This is just an example of how much room there is in this little guy.


Thank you Katie and Bryan, for opening your home to your Aunties.

Linking to Anything Goes Monday with the wonderful Marelize as hostess!!

Related Posts Plugin for WordPress, Blogger...